4 November 2026 · How-to
How to add a photograph on Local Past
A short guide to uploading a real historical photograph, placing it on the timeline, and linking it to people and places.
Local Past is built for real photographs and document scans — family albums, street views, churchyards, archive pages. This guide shows how to add one so it helps other researchers, not just your own folder.
Before you start
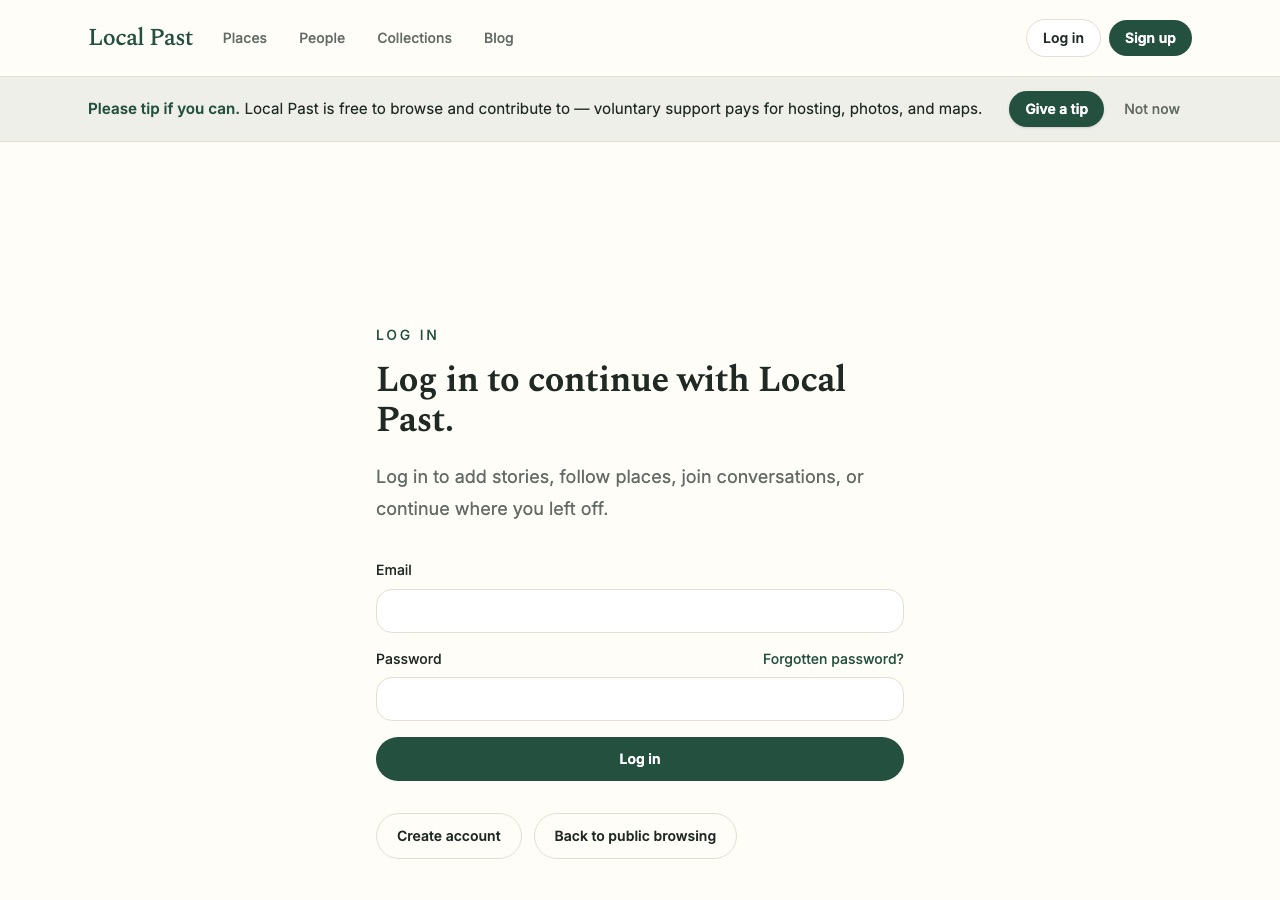
Sign in at localpast.co.uk. Only upload a photo you own or have permission to share. Do not upload AI-generated or synthetic images. Local Past is a history site: the image should be a real photograph or a scan of a real document.
Add the photograph
Open the place or person the photo belongs to, or start a new entry from the contribute flow. Choose to add a photograph, pick your file (JPEG, PNG, WebP, or HEIC), and wait for it to upload. Add a short caption if you know when or where it was taken — even “about 1910, outside the chapel” helps.
Link people and places
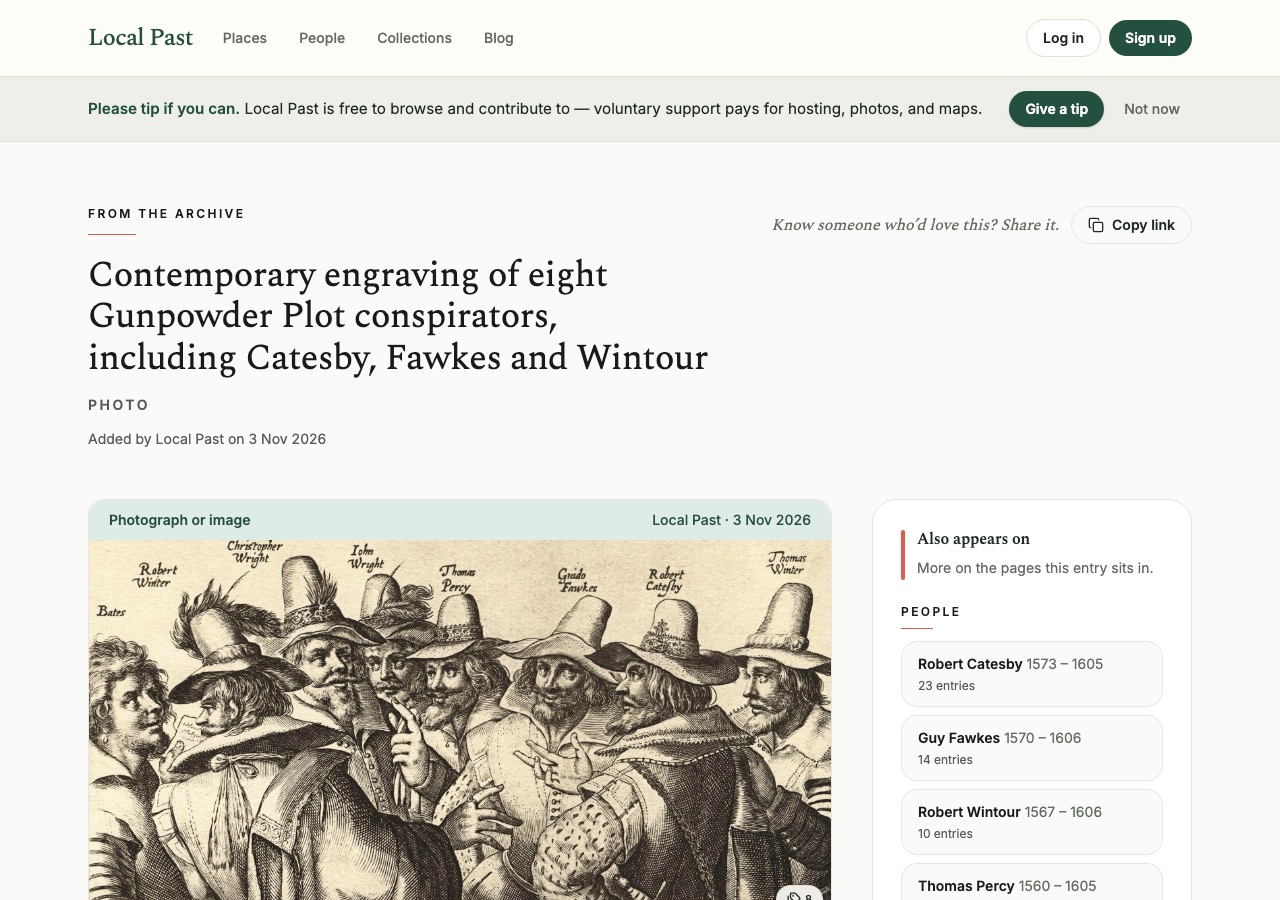
Tag everyone you can recognise, and the place where the photo was taken or the building shown. Those tags are what make the same photo appear on more than one timeline. If you are unsure of a name, say so in the caption rather than guessing.
Publish
When the preview looks right, publish. The photo will show on the timelines you tagged, with Local Past watermarking on downloads so the archive stays attributed.
Why it matters
A photograph without people or places is easy to lose. A photograph on Local Past becomes part of the shared record for that street, parish, or family — and someone else may recognise a face you cannot.
Local Past Updates
Signing up for Updates creates a Local Past account. Opening an account opts you into occasional archive emails. Every email has an unsubscribe link.